I built a Porsche 911 GT3 configurator you scroll through, with Claude Code and Higgsfield and no design experience. Here's how, step by step: what I asked for, what went wrong and how I fixed it.
The car fills the screen. You scroll and the camera moves: from the front, down to the wheel, through the open door into the cabin, and round to the back. At each stop you change what's in front of you: the paint at the front, the rims at the wheel, the leather inside. Whatever you pick stays on the car through every move.
It's all pictures and short films made with AI. There's no 3D model: a 3D car is heavy and slow to load, and films look like a photo shoot.
It comes down to three things:
A still at every stop. Made with Nano Banana Pro.
A film between each pair of stills. Made with Kling, using the two stills as its first and last frame.
A layer for each option. Only the paint, the rims or the leather is cut out and laid over the original picture.
Claude Code does the work in between: it writes the prompts, makes the pictures and films through Higgsfield, cuts the layers out and builds the page. I talked to it the whole way, and it built what I described.
It's a concept I made to show what's possible, not a job for Porsche.
What you need
Claude Code. Everything happens here.
A Higgsfield account, connected to Claude Code. Higgsfield has Nano Banana Pro for pictures and Kling for films. Connect it once, and Claude can make them for you. In a terminal:
claude mcp add --transport http higgsfield https://mcp.higgsfield.ai/mcp
Then type /mcp in Claude Code and log in to Higgsfield. (On claude.ai you can add it as a custom connector with the same address instead.)
React Bits (reactbits.dev). Free animated pieces for websites. The scrambling title and the gunmetal background come from there.
A good picture of your product. I used Porsche's own render of the 911 GT3 as the reference for every picture, so the wing, the wheels and the badges came out right.
01
The scene
Pick a set
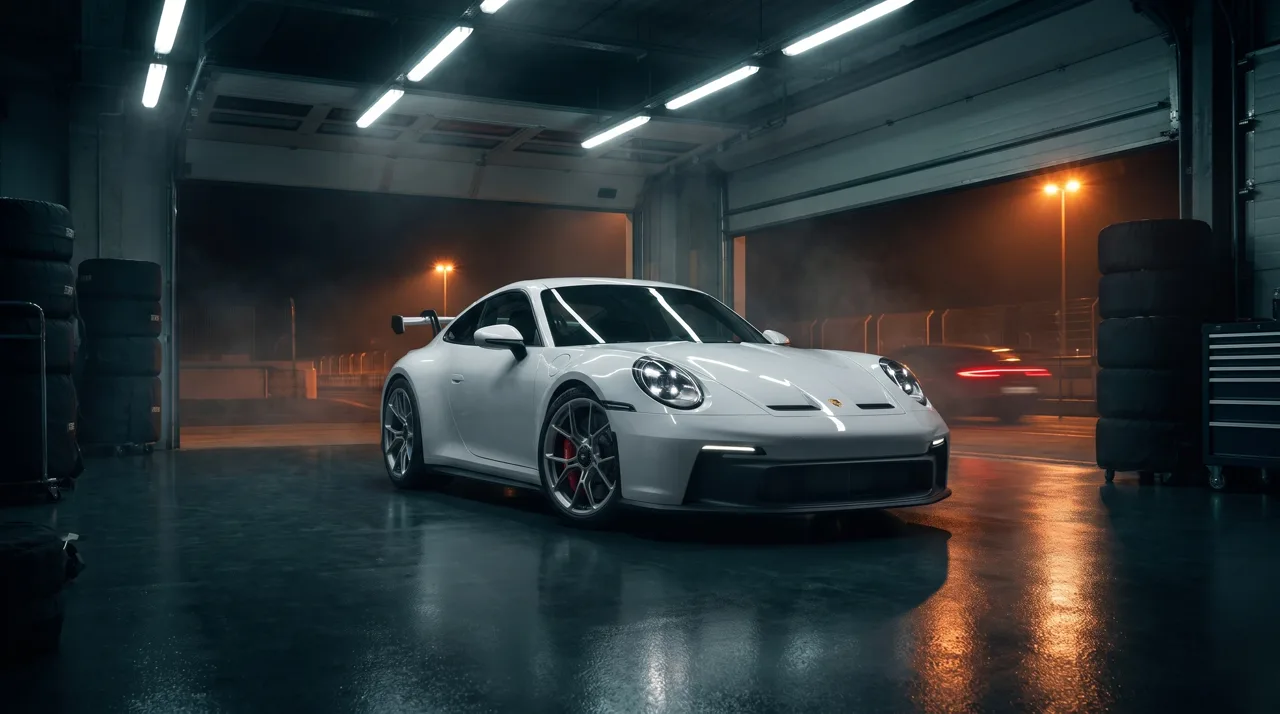
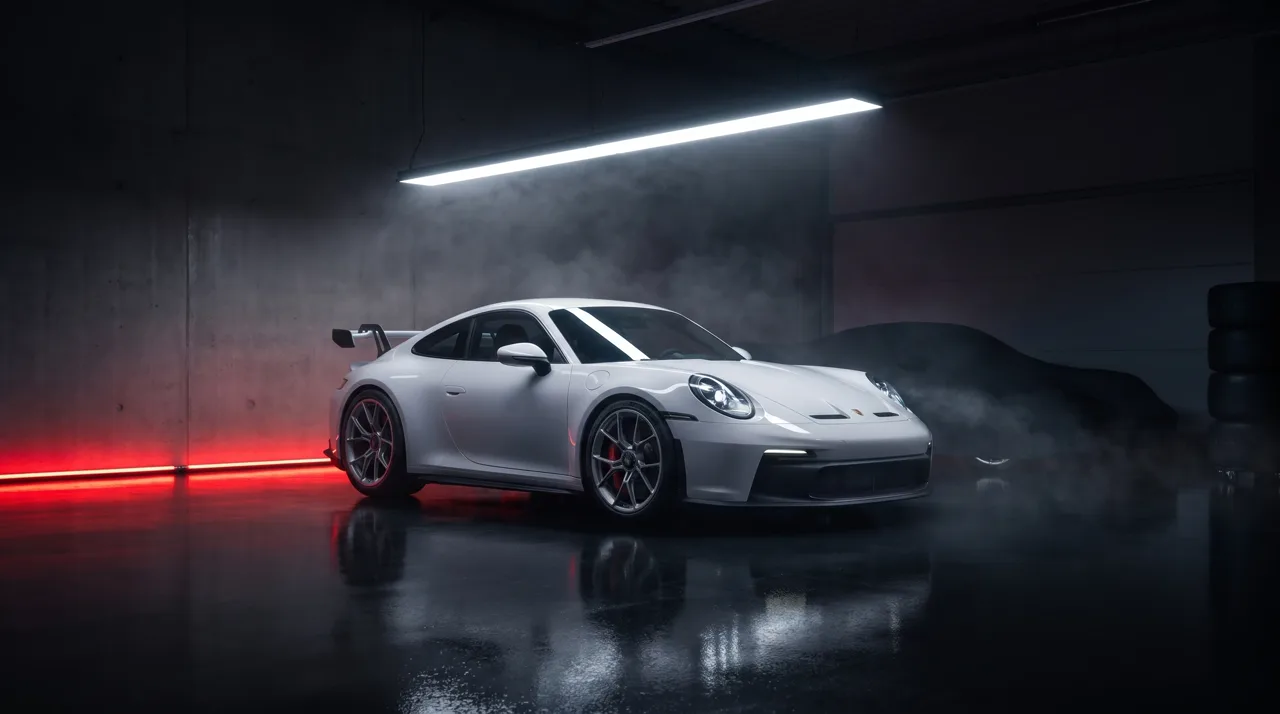
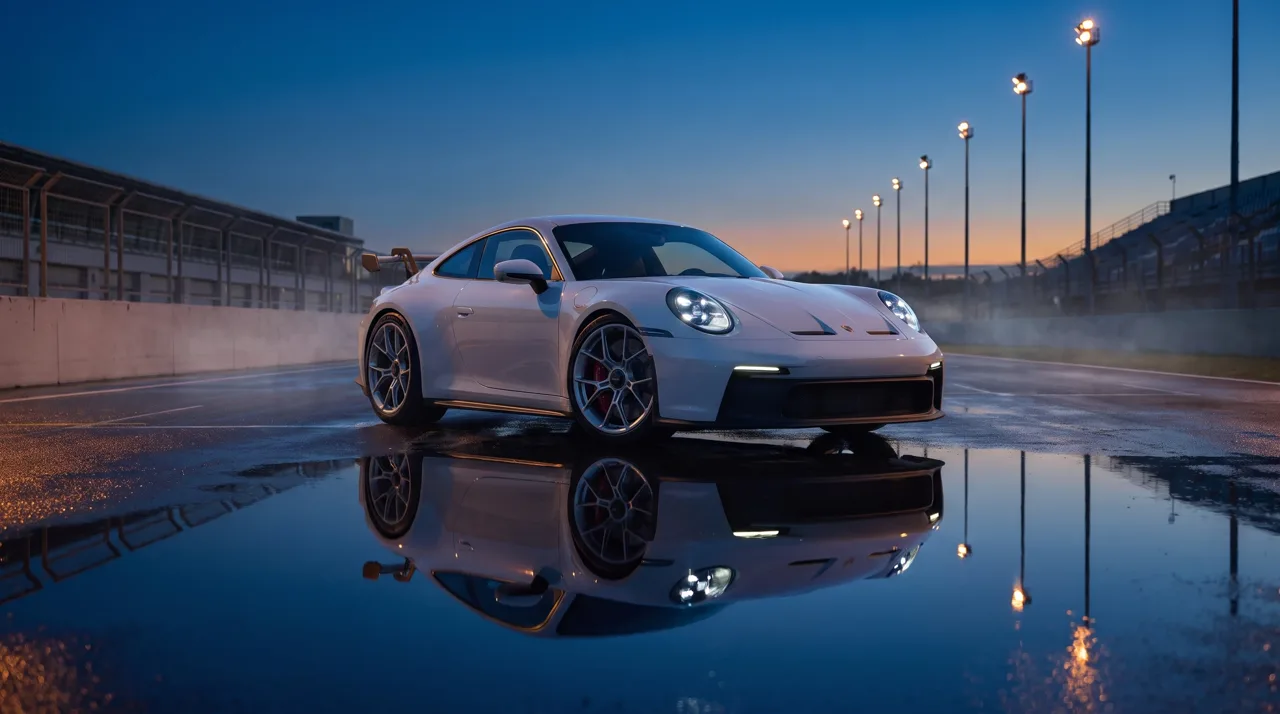
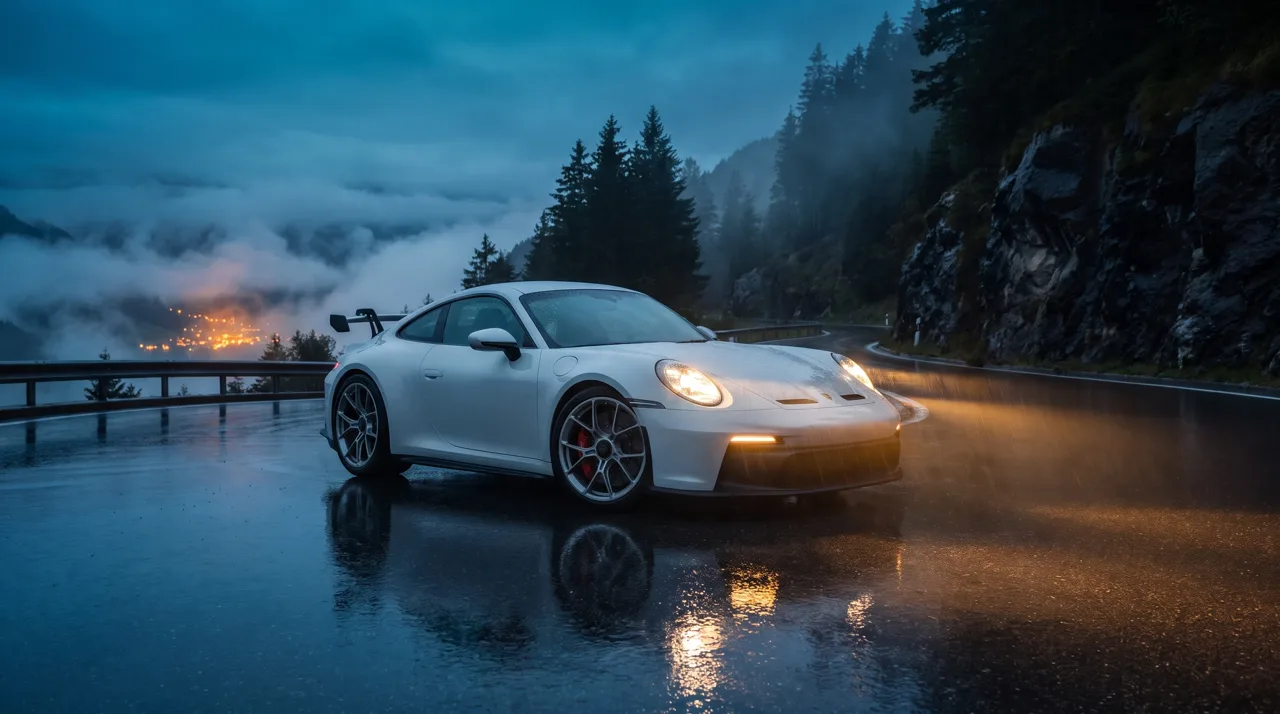
I had Claude make the same white GT3 in four places, to choose from.
Pit garage at night
Dark garage, one light bar
The pit straight at blue hour
Mountain hairpin
Four sets, one car. Moody beats a white studio.
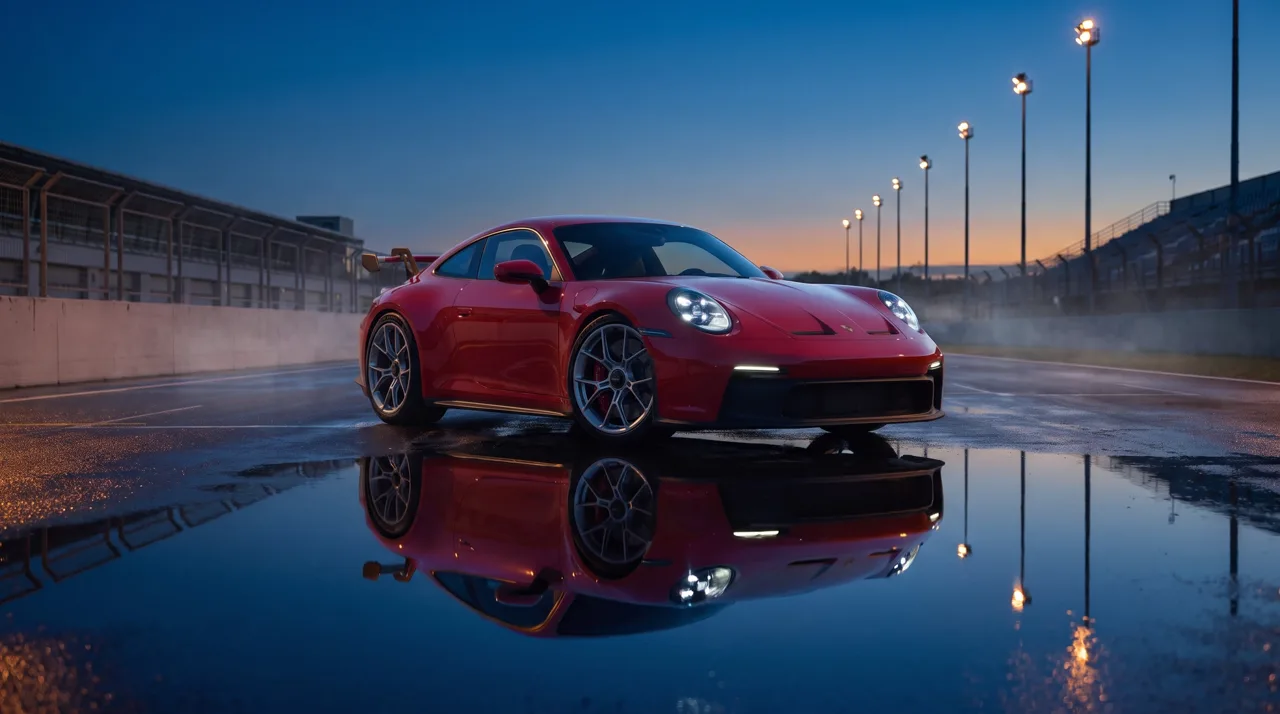
I picked the racetrack. That's where a GT3 belongs, and it has open space, so the car can drive between shots instead of the camera circling a parked car.
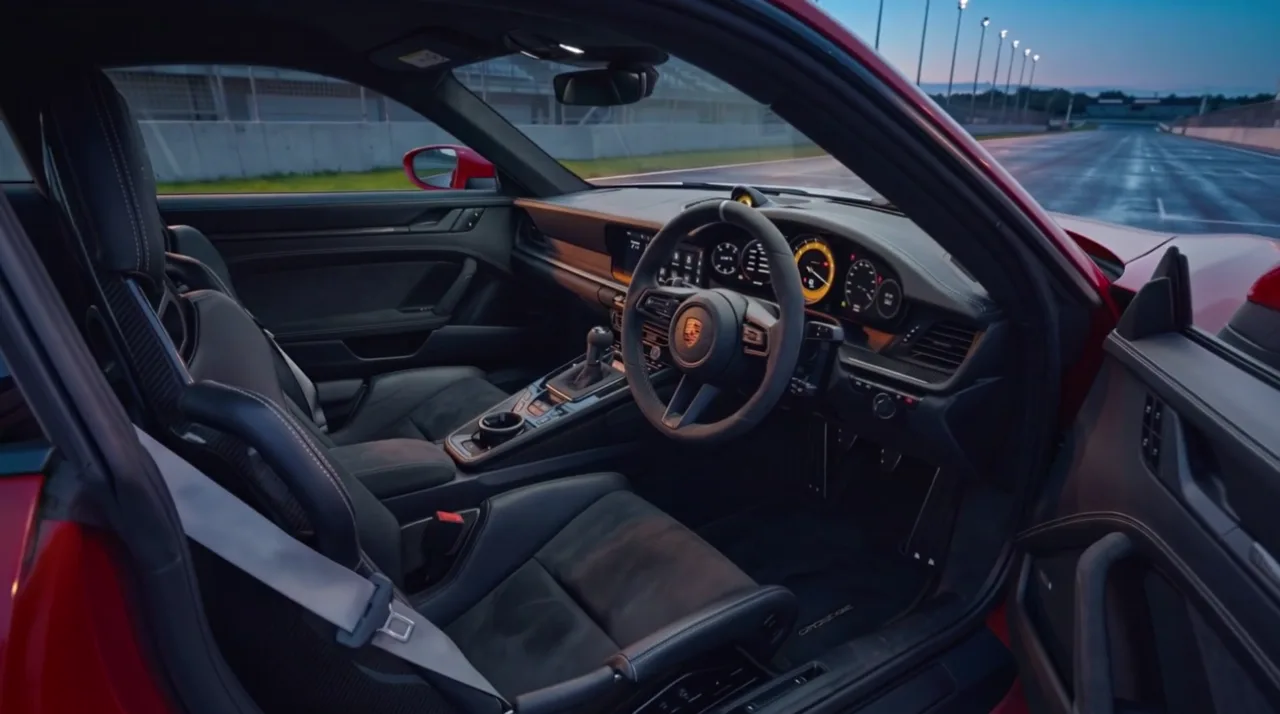
Each place the camera stops is a still too: the wheel from the side, and the interior through the open door. Make each one with the first still and the car photo as references, so the light and the car stay the same.
Change the colour without the picture jumping
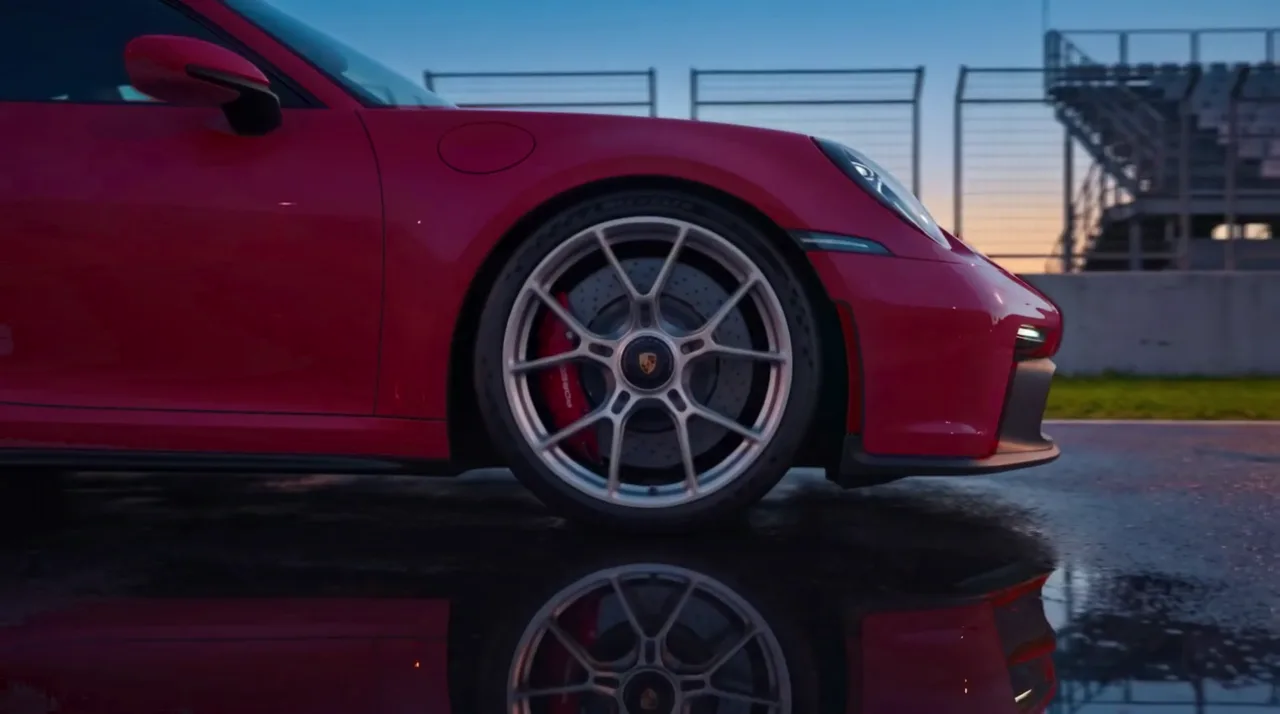
This is where I got stuck first. Ask Nano Banana Pro for the same shot in red and you get it, but it redraws the whole picture. The background shifts a pixel or two and the grain changes. Switch between the two and the whole frame twitches.
The repaint: everything twitches
Paint over the original: only the colour changes
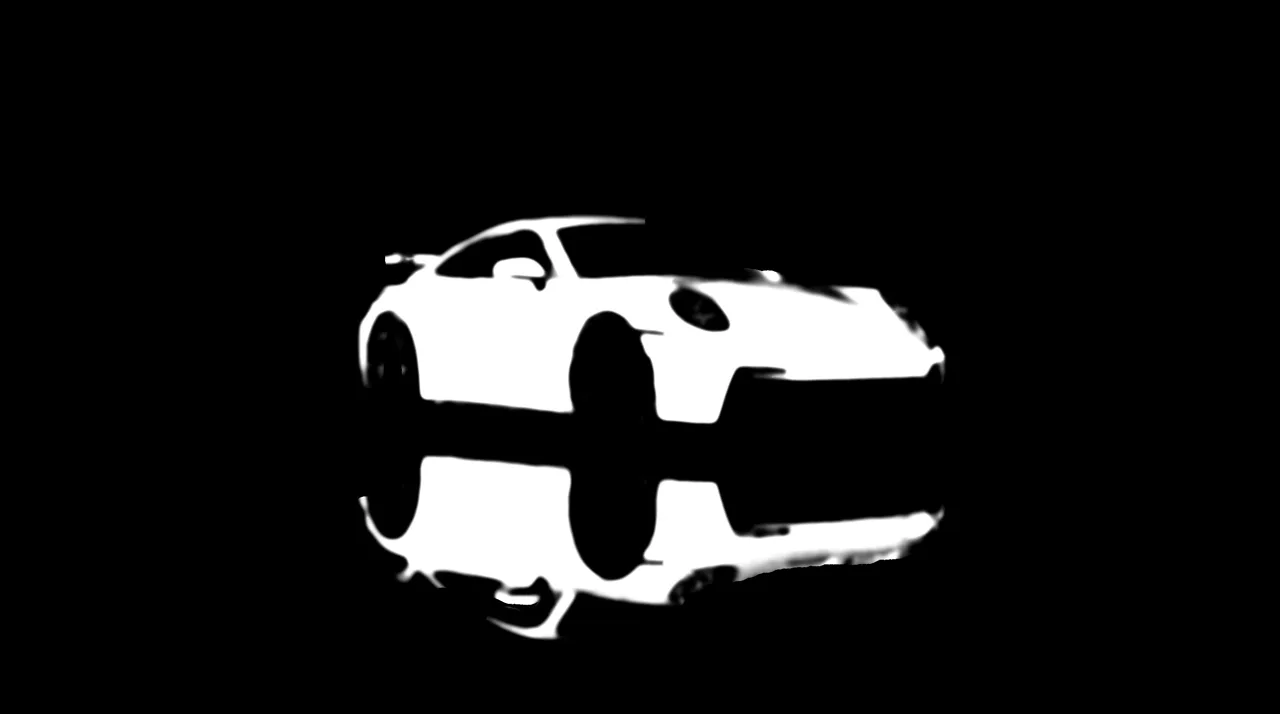
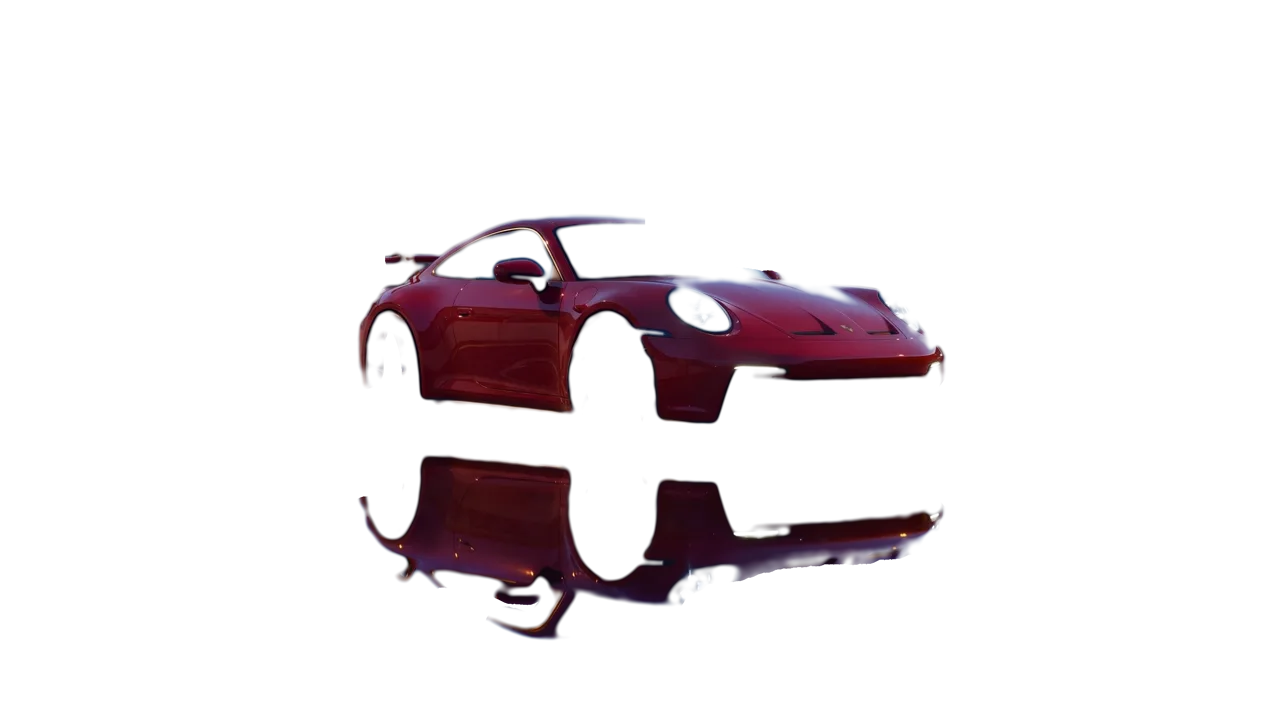
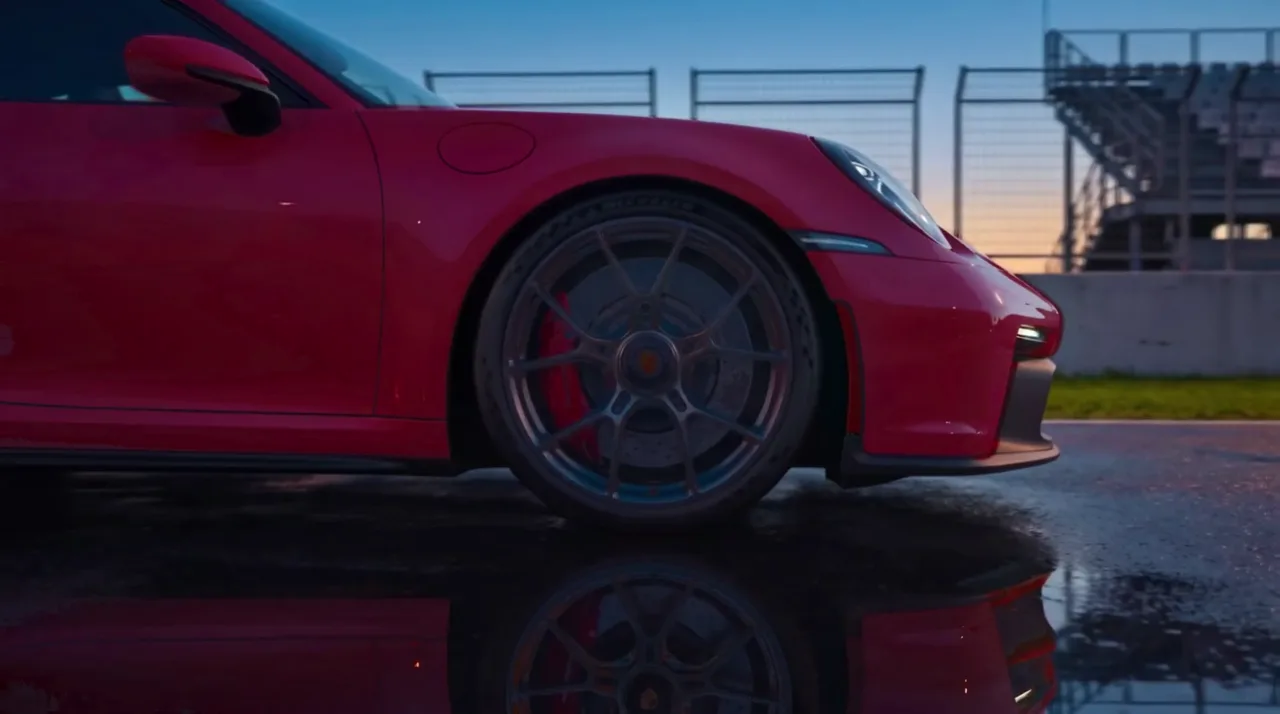
The fix: never show the repainted picture. Keep the original, cut only the paint (and its reflection) out of the red one, wherever the colour changed, and lay it on top. The scene stays exactly the same and only the colour changes.
1. Where the colour changed
2. Just the paint
3. Laid over the original
Claude writes a small script for this: it lines the two pictures up, finds what changed colour and cuts it out. Do it once and it works for every colour.
Then the rims and the interior
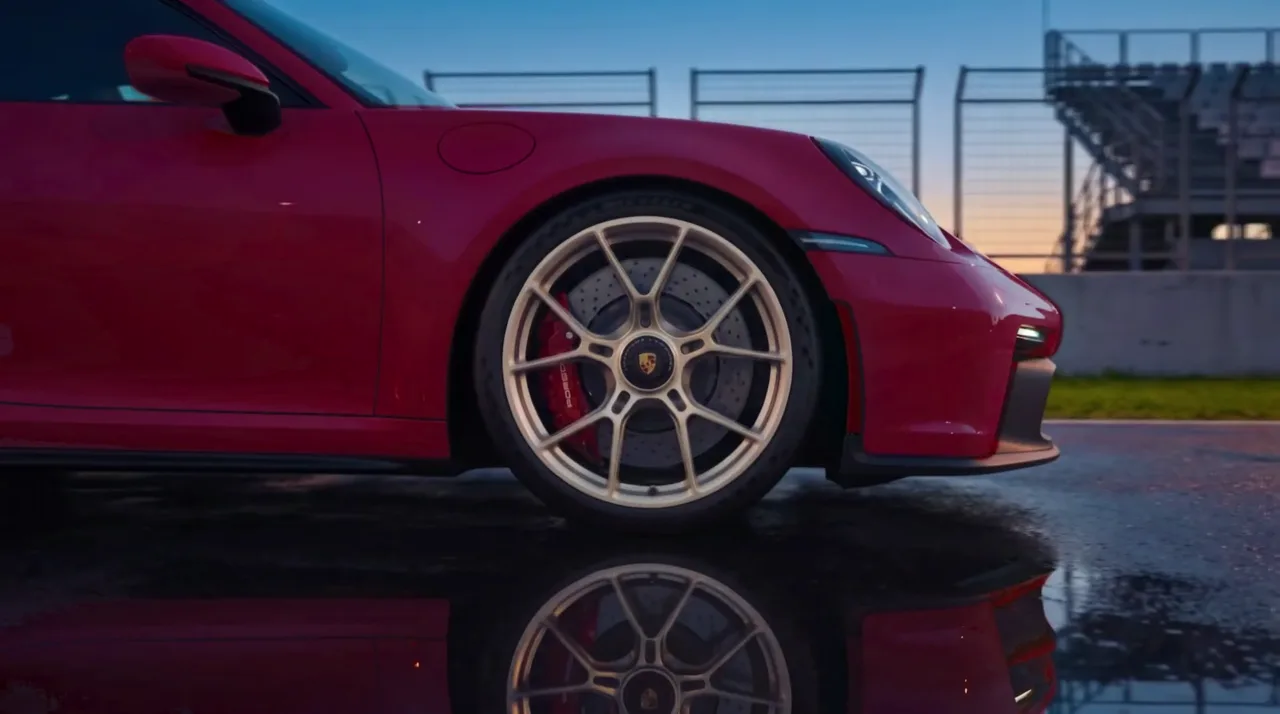
Same trick for the rims: silver, satin black and satin gold.
Silver
Satin black
Satin gold
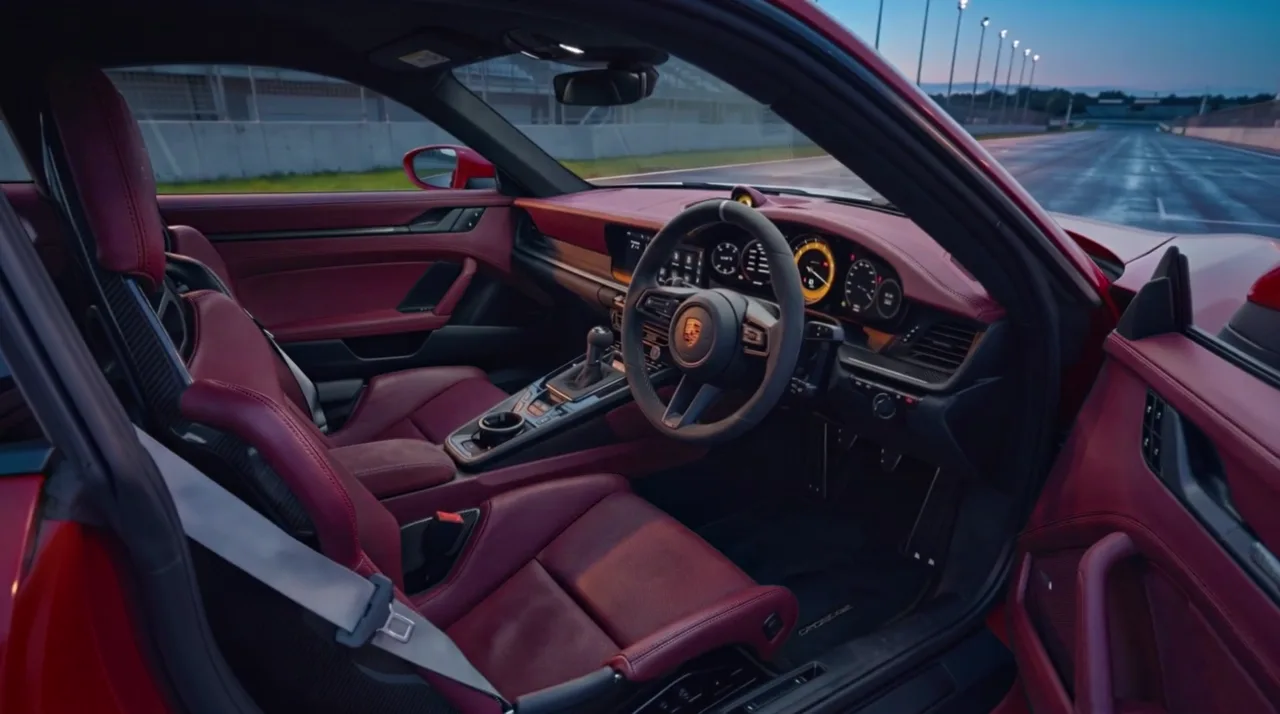
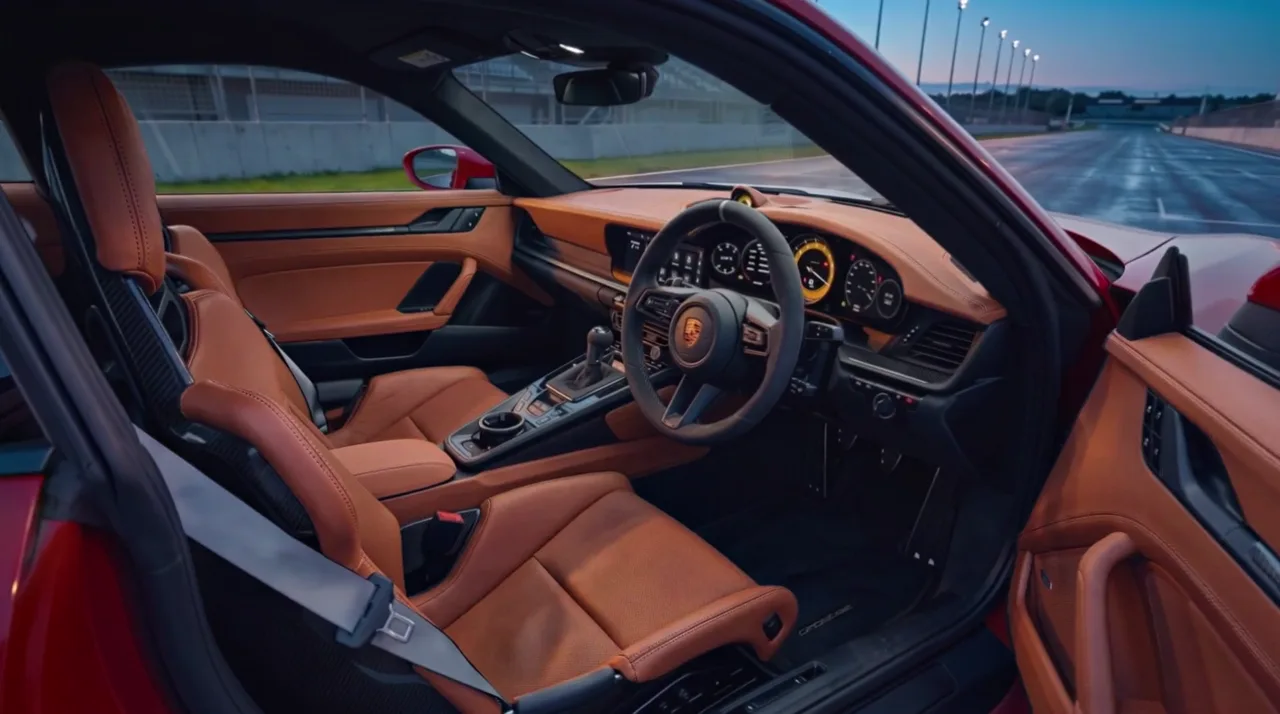
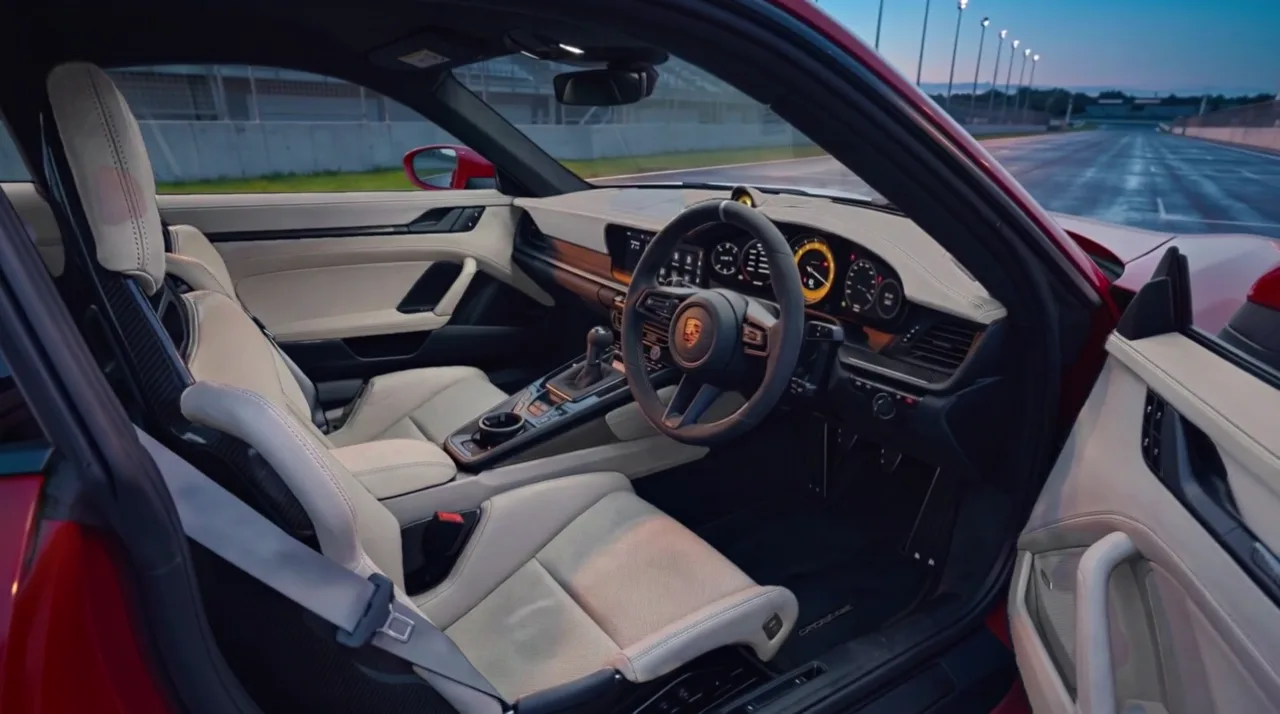
For the interior I wanted the whole leather in a new colour, not just the stitching: black, Bordeaux, Cognac and Chalk. Every AI redraw changes the small things a little (the dials, the badge on the steering wheel), so I had Nano Banana Pro draw a map of just the upholstery from the original. Only what's inside that map changes colour.
Black
Bordeaux
Cognac
Chalk
Make the still come alive
There was fog in the background of the track shot, so it made sense for it to move. Kling, with the still as both the first and the last frame, makes a film that loops. The car from the still is frozen on top, so only the fog drifts.
The fog drifts behind the car. The car never moves, so the paint layers still line up.02
The moves
A film from one still to the next
Kling 3.0 takes a first and a last frame and films the move between them. Make a cheap 720p draft first, and only render the one you like at 1080p. (I tried 4K too: I couldn't see the difference, and it was heavier.)
When the car spins on the spot
My first tries were wrong. The car pivoted in place with its wheels spinning, and the physics was broken.
The first try: the car turns on the spot to reach the end frame.
The cause was my wheel still. It was framed as if the camera had never moved, so the only way for Kling to get there was to turn the car. The fix: let Kling make the move with no end frame, take its last frame, and make a proper side-on still from it with Nano Banana Pro. The move into that still is natural.
The move used on the page: the camera goes round, and the car keeps going.
One move, every colour
Don't make a new move for every colour. Each one would move a little differently, and the colour change would jump mid-scroll. Make the move once in white. Then run Kling's edit mode (Omni Edit) on that same film for each colour and each rim, with the approved still as the colour reference. Every version moves the same, frame for frame, so they stack like the layers in the stills.
One move and three of its edits: white, Gulf Blue, Guards Red and gold rims, moving as one.
The move into the cabin is the same idea. The car drives on, the door opens and the camera goes in. That's 36 builds (3 paints, 3 rims and 4 interiors), made from 8 films: one in white and seven edits of it.
From the wheel into the cabin, in one film.
If an edit drifts (my Gulf Blue faded back to white once the door opened), run it again and name every panel that should change. Saying "never white" helped too.
03
The details
The page
With the pictures and films made, I asked Claude Code to build the page.
Then the look, one piece at a time: hairlines that leave each part at an angle and run flat under its label, slim rectangles for the options ("rectangles look a little bit more racy"), and the specs from Porsche's data sheet next to the parts they're about.
React Bits for the intro
The intro is two React Bits pieces. Grainient makes the brushed gunmetal background, and Decrypted Text makes the title scramble in. When you scroll, the title scrambles away and the intro lifts like a garage door, with the car on the track behind it.
The title scrambles out and the page lifts.
The ending
After the interior, the gunmetal comes back: "Your GT3", the car from behind in your colour, your build, and Confirm. Press it and the lights blink twice.
The end of the page: your build, and Confirm.
Phones, and making it fast
A wide film on a tall screen leaves the car tiny, so on phones the picture is square, and each stop is centred on what it's about.
Then speed. At first it took about 21 seconds to load on a phone. Now it waits only for the first screen and the first move, and loads the rest behind them: 2 to 5 seconds. Check it on a real phone, not just your laptop.
Before you start
Get the stills right before any film. The light, the colour, the set. Every film inherits them.
Draft cheap, then make the final. 720p drafts until the move is right.
Never show a repaint. Cut out what changed and lay it over the original.
Make each move once, then edit it for every option.
Look at it on your own phone, often.
That's it. If you have no design experience, that's fine: I didn't either. Describe what you want, look at what comes back, and keep going.